Key Takeaway
Step-by-step guide to subcutaneous NAD+ injection, including preparation, technique, site rotation, and storage. Physician-supervised guidance from FormBlends.
Quick Answer: NAD+ is most commonly self-administered via subcutaneous injection into the abdominal fat pad, thigh, or upper arm. Proper technique involves sanitizing the injection site, using the correct needle gauge, injecting at a 45- to 90-degree angle, and rotating sites to prevent irritation. Always follow your physician's specific instructions. NAD+ therapy isn't FDA-approved for any medical condition .
What Is NAD+?
NAD+ (nicotinamide adenine dinucleotide) is a coenzyme critical to cellular energy production, DNA repair, and the function of sirtuins and other regulatory enzymes . NAD+ levels decline with age, and restoring them has become a significant area of longevity and wellness research.
While IV infusion provides the highest bioavailability, subcutaneous injection has become a popular option because it can be performed at home, requires less time, and still provides meaningful increases in NAD+ levels . This guide walks you through the process of subcutaneous NAD+ injection, step by step.
Before injecting any compound, you must receive proper training and authorization from your prescribing physician. This guide supplements, but doesn't replace, your physician's instructions.
What You Will Need
Before your first injection, make sure you have the following supplies:
View data table
| Category | Clinical Interest Score | Detail |
|---|---|---|
| BPC-157 | 88 | Tissue repair and gut healing |
| TB-500 | 82 | Injury recovery |
| Sermorelin | 78 | Growth hormone support |
| Ipamorelin | 75 | Anti-aging and recovery |
| GHK-Cu | 70 | Skin and tissue repair |
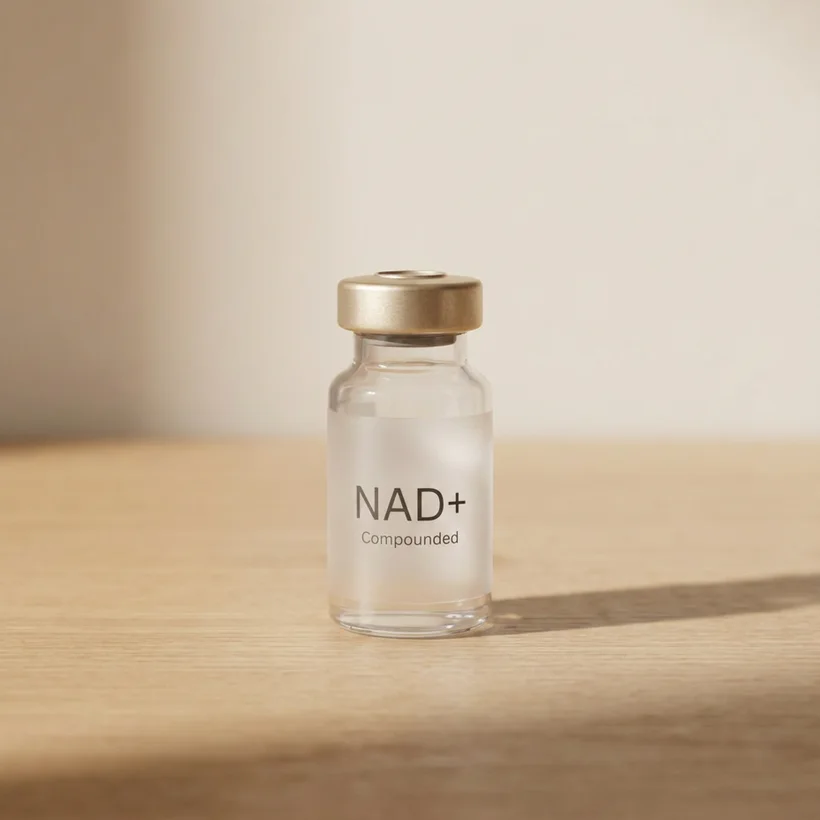
- NAD+ vial: Pharmaceutical-grade NAD+ solution from a licensed compounding pharmacy, prescribed by your physician.
- Insulin syringes: 29- to 31-gauge needles, typically 0.5 mL or 1 mL capacity. These thin needles minimize discomfort for subcutaneous injection.
- Alcohol swabs: For sanitizing the vial stopper and injection site.
- Sharps container: For safe disposal of used needles. Never throw needles in regular trash.
- Clean, flat surface: A clean countertop or table to prepare your supplies.
Your physician or pharmacy will specify the exact syringe size and needle gauge based on your prescribed dose and the concentration of your NAD+ solution.
Step-by-Step Injection Guide
Step 1[1]: Wash Your Hands
Wash your hands thoroughly with soap and warm water for at least 20 seconds. Dry them with a clean towel. This is the most important step for preventing infection.
From the FormBlends catalog
NAD+ Peptide Complex
Restore cellular energy and DNA repair capacity · From $179/mo · compounded by a licensed 503A pharmacy, dispensed only after provider review.
View NAD+ Peptide Complex →Step 2: Prepare the Vial
Remove the NAD+ vial from the refrigerator and allow it to reach room temperature for 5 to 10 minutes. Cold solution can cause more discomfort upon injection. Clean the rubber stopper on top of the vial with an alcohol swab and let it air dry.
Step 3: Draw the Solution
Remove the syringe from its sterile packaging. Pull back the plunger to draw in a volume of air equal to your prescribed dose. Insert the needle through the rubber stopper and push the air into the vial. This equalizes pressure and makes drawing the solution easier.
Invert the vial with the needle still inserted. Pull the plunger back slowly to draw your prescribed dose. Check for air bubbles. If bubbles are present, tap the syringe gently with your finger to move them to the top, then push the plunger slightly to expel them. Confirm you still have the correct volume.
Step 4: Choose and Prepare the Injection Site
The most common subcutaneous injection sites for NAD+ are:
- Abdomen: The area around the navel, staying at least 2 inches away from the belly button. This is the most popular site due to ease of access and consistent absorption.
- Front of the thigh: The middle third of the outer thigh provides a good alternative.
- Back of the upper arm: The fatty area on the back of the arm, though this can be more difficult to reach without assistance.
Clean the chosen site with a fresh alcohol swab using a circular motion, starting at the center and moving outward. Let the area air dry completely before injecting.
Step 5: Inject
Pinch a fold of skin at the prepared site between your thumb and forefinger. This lifts the subcutaneous fat layer away from the muscle beneath. With your other hand, insert the needle at a 45- to 90-degree angle in one smooth motion. The angle depends on the amount of subcutaneous fat at the site. Leaner individuals should use a 45-degree angle. those with more subcutaneous tissue can use 90 degrees.
Push the plunger slowly and steadily to inject the full dose. Injecting too quickly can increase discomfort. Once the full dose is delivered, wait 5 seconds before withdrawing the needle. Remove the needle at the same angle it was inserted.
Step 6: Post-Injection
Apply light pressure to the injection site with a clean gauze pad or cotton ball for a few seconds. Don't rub the area, as this can increase irritation and may affect absorption. If a small amount of bleeding occurs, this is normal.
Dispose of the used syringe immediately in your sharps container. Never recap a used needle, as this increases the risk of needlestick injury.
Site Rotation
Rotating your injection site is important for preventing tissue irritation, lipodystrophy (changes in fat tissue), and discomfort. Follow these guidelines:
- Never inject in the same exact spot two days in a row.
- Rotate between different areas (abdomen, thigh, arm) or different quadrants within the same area.
- Keep a simple log noting which site you used each day. Many people find it helpful to move clockwise around the abdomen.
- Avoid areas with bruises, scars, stretch marks, or visible veins.
Storage and Handling
Proper storage of your NAD+ solution is important for maintaining potency and sterility:
- Refrigeration: Store your NAD+ vial in the refrigerator at 36 to 46 degrees Fahrenheit (2 to 8 degrees Celsius) unless your pharmacy specifies otherwise.
- Protect from light: Keep the vial in its original packaging or in a dark area of the refrigerator, as NAD+ can degrade with prolonged light exposure.
- Check expiration: Use the solution before the beyond-use date provided by the compounding pharmacy.
- Inspect before use: Before each injection, visually inspect the solution. It should be clear and free of particles or discoloration. Don't use the solution if it appears cloudy or contains visible particles.
- Don't freeze: Freezing can damage the molecular structure and reduce effectiveness.
Common Injection Concerns
Pain and Discomfort
Some stinging or burning at the injection site is normal with NAD+. This typically resolves within a few minutes. Allowing the solution to reach room temperature before injecting and using a slow, steady injection pace can minimize discomfort.
Bruising
Occasional minor bruising is normal and not a cause for concern. If you experience frequent or large bruises, review your technique with your physician.
Redness or Swelling
Mild redness or a small bump at the injection site is common and typically resolves within hours. If redness spreads, becomes hot to the touch, or is accompanied by fever, contact your physician as these may be signs of infection.
Needle Anxiety
If you're uncomfortable with needles, know that insulin syringes use very fine needles (29 to 31 gauge) that most people find quite tolerable. Taking slow, deep breaths before injecting can help. With practice, the process becomes routine.
Safety and Side Effects
Subcutaneous NAD+ injection has a favorable side effect profile. The most common effects are injection site reactions (redness, mild pain, swelling) and occasional mild nausea or flushing .
To reduce injection-related side effects:
- Rotate injection sites consistently
- Use proper technique as described above
- Allow the solution to reach room temperature
- Inject slowly
For a thorough look at all potential side effects, see our NAD+ side effects guide. For dosing details, see our NAD+ dosage guide.
How FormBlends Can Help
At FormBlends, we make sure you feel confident and prepared before your first injection. Our telehealth physicians provide personalized instruction on proper injection technique as part of your treatment plan.
When you work with us, you receive:
- A personalized consultation with a licensed physician
- Pharmaceutical-grade NAD+ from licensed compounding pharmacies
- Detailed injection instructions tailored to your protocol
- Ongoing access to your care team for questions about technique or side effects
We believe that proper technique is just as important as the right dose. Our physicians are available to guide you through the process.
Frequently Asked Questions
Where is the best place to inject NAD+?
The abdomen is the most popular injection site due to ease of access and reliable absorption. The front of the thigh and the back of the upper arm are good alternatives. Rotate between sites to prevent tissue irritation.
What size needle should I use for NAD+ injections?
A 29- to 31-gauge insulin syringe is standard for subcutaneous NAD+ injections. These fine needles minimize discomfort. Your physician or pharmacy will specify the appropriate syringe based on your dose and solution concentration.
Does injecting NAD+ hurt?
Most people report mild stinging or burning at the injection site that resolves within minutes. Allowing the solution to warm to room temperature and injecting slowly both help reduce discomfort. The needles used are very fine, and most patients find the process quite manageable.
How do I store my NAD+ vials?
Store NAD+ vials in the refrigerator at 36 to 46 degrees Fahrenheit, protected from light. Don't freeze. Always check the beyond-use date and inspect the solution for clarity before each use.
Can I inject NAD+ intramuscularly instead of subcutaneously?
Subcutaneous injection is the standard route for at-home NAD+ administration. Intramuscular injection isn't typically recommended for NAD+ and may increase discomfort. Follow your physician's instructions regarding the route of administration.
Medical References
- Wilding JPH, Batterham RL, Calanna S, et al. Once-Weekly Semaglutide in Adults with Overweight or Obesity. N Engl J Med. 2021;384(11):989-1002. [PubMed | ClinicalTrials.gov | DOI]
- Davies M, Færch L, Jeppesen OK, et al. Semaglutide 2.4 mg once a week in adults with overweight or obesity, and type 2 diabetes (STEP 2). Lancet. 2021;397(10278):971-984. [PubMed | ClinicalTrials.gov | DOI]
- Wadden TA, Bailey TS, Billings LK, et al. Effect of Subcutaneous Semaglutide vs Placebo as an Adjunct to Intensive Behavioral Therapy on Body Weight in Adults With Overweight or Obesity (STEP 3). JAMA. 2021;325(14):1403-1413. [PubMed | ClinicalTrials.gov | DOI]
- Rubino D, Abrahamsson N, Davies M, et al. Effect of Continued Weekly Subcutaneous Semaglutide vs Placebo on Weight Loss Maintenance in Adults With Overweight or Obesity (STEP 4). JAMA. 2021;325(14):1414-1425. [PubMed | ClinicalTrials.gov | DOI]
- Garvey WT, Batterham RL, Bhatt DL, et al. Two-year effects of semaglutide in adults with overweight or obesity (STEP 5). Nat Med. 2022;28(10):2083-2091. [PubMed | ClinicalTrials.gov | DOI]
Ready to Learn More?
If you're interested in NAD+ therapy and want guidance on proper administration, FormBlends can connect you with a licensed physician who will walk you through every step. Our team is here to help you feel confident and supported.
Disclaimer: This article is for informational purposes only and doesn't constitute medical advice. NAD+ therapy isn't FDA-approved for any medical condition. The injection instructions presented here are general guidelines and shouldn't replace the specific instructions provided by your prescribing physician. Always consult with a licensed healthcare provider before beginning any therapy. Never self-administer injectable compounds without physician authorization and training. Individual results may vary. FormBlends doesn't claim that NAD+ cures, treats, or prevents any disease.
Ready when you are
NAD+ Peptide Complex
Restore cellular energy and DNA repair capacity · From $179/mo · compounded by a licensed 503A pharmacy, dispensed only after provider review.
View NAD+ Peptide Complex →